

29 Sep Surf break!
I enjoyed a great weekend in North Devon at the Summer Sigh event organised by Channel Events
Enjoyed that is all barring about 3 seconds or less which was the moment I got caught sideways after a cute rock hopping gulley, I even enjoyed the bumble surf towards the shore, it looked almost sandy! I tried to reorganise my position to the top of the wave to release the kayak from it position and back out or even surf on when bang! a well positioned piece of that slate like split rock bought the stern to an abrupt halt as the weight of the wave from the other side forced the connection of rock and fibreglass to a momentary fusion. I might have said bugger or something like that.
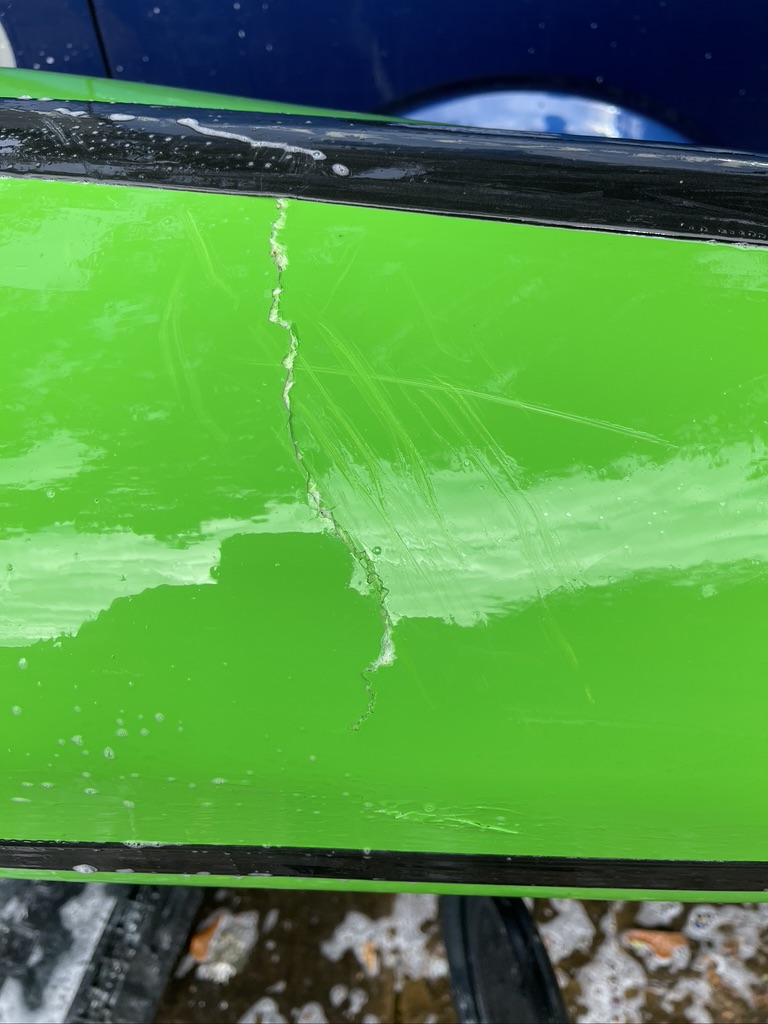
 I paddled on, but a short time later on another gulley I knew something was not right (sorry Ian) I was filling up with water, and couldn’t steer.
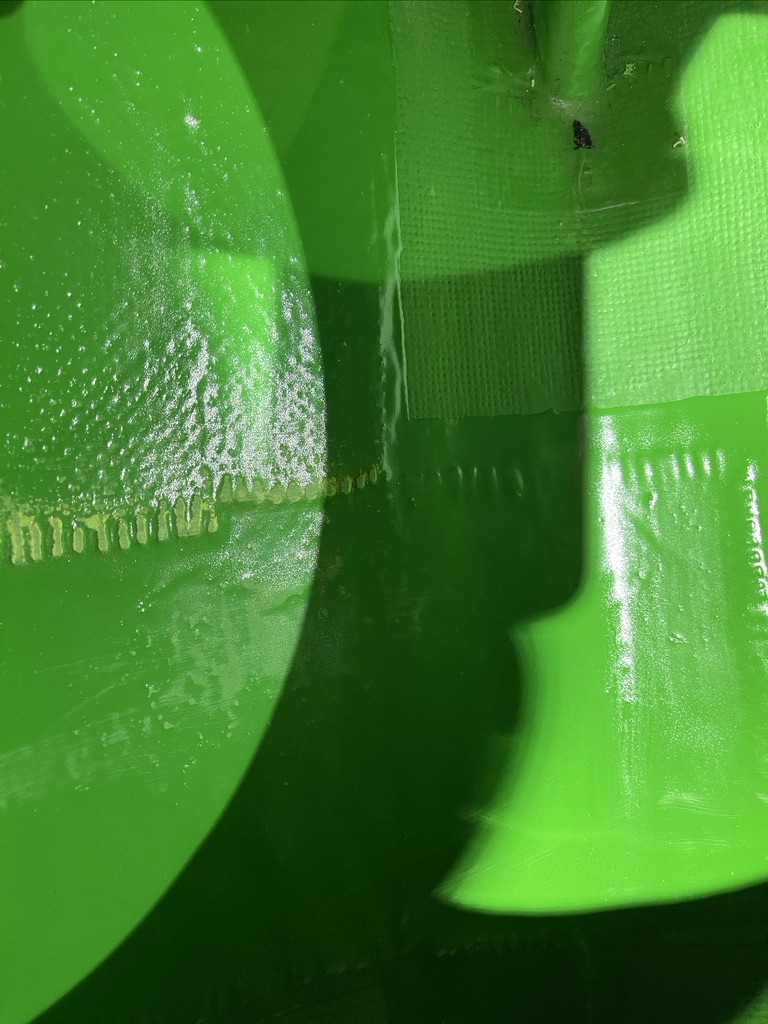
So here was the not so bad broken hull (this is conveniently right under my rear hatch.
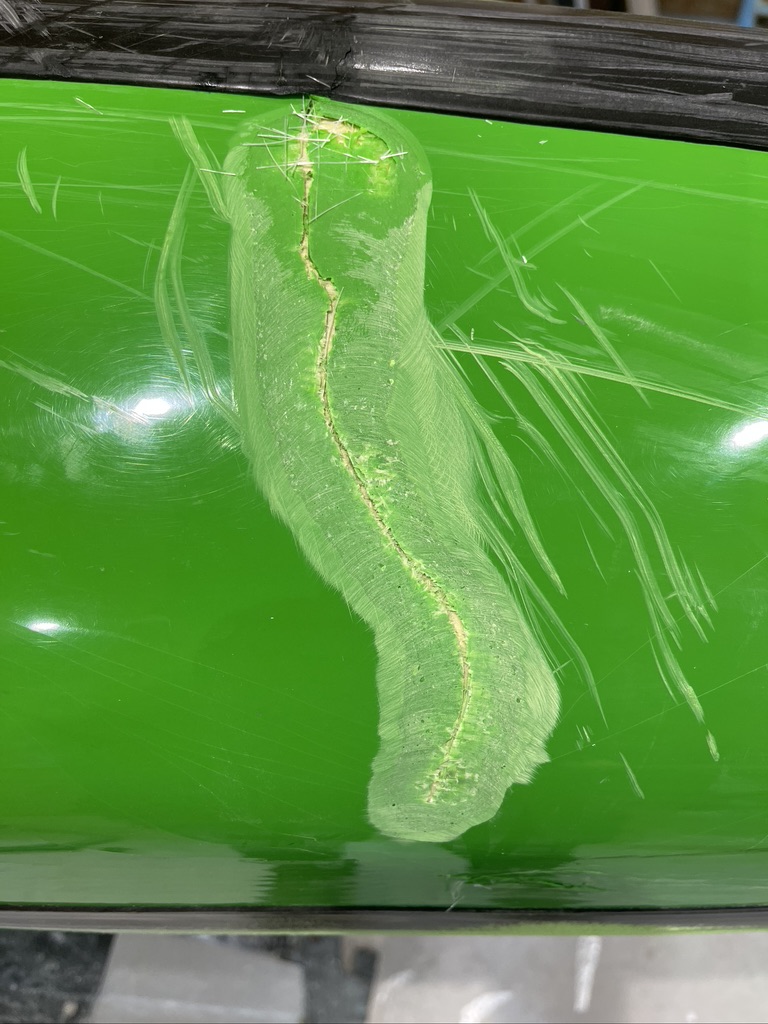
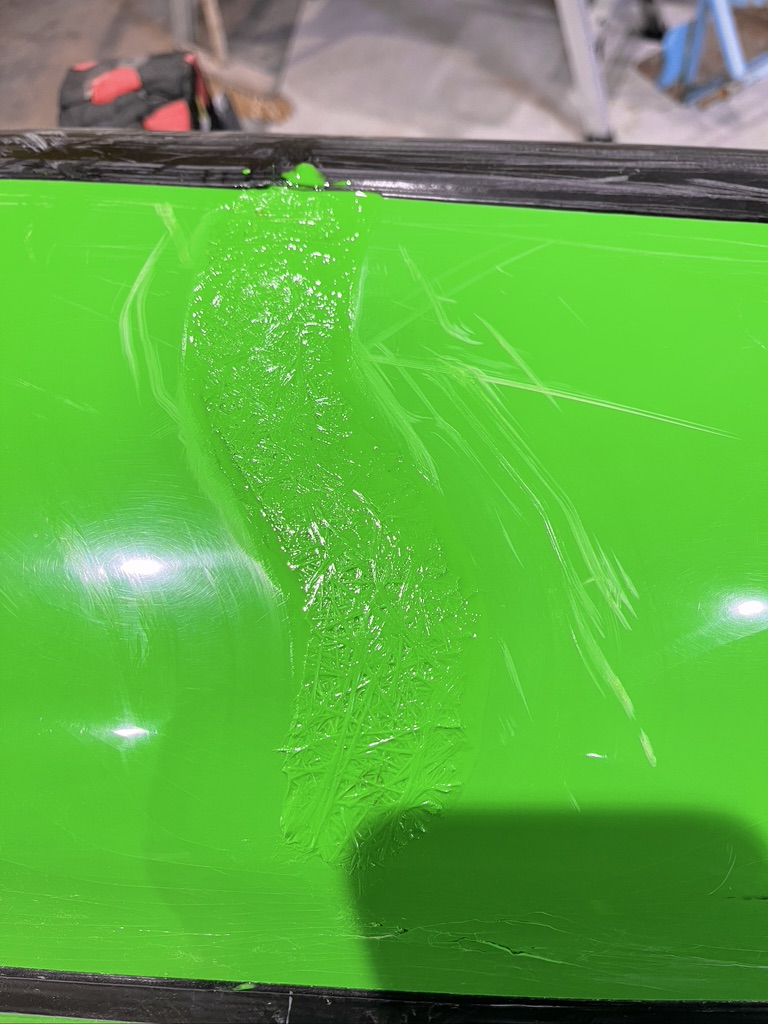 With a crack like this it’s important to grind out enough gelcoat and chopped strand to be able to reinforce the area to avoid further cracks appearing at a later date.
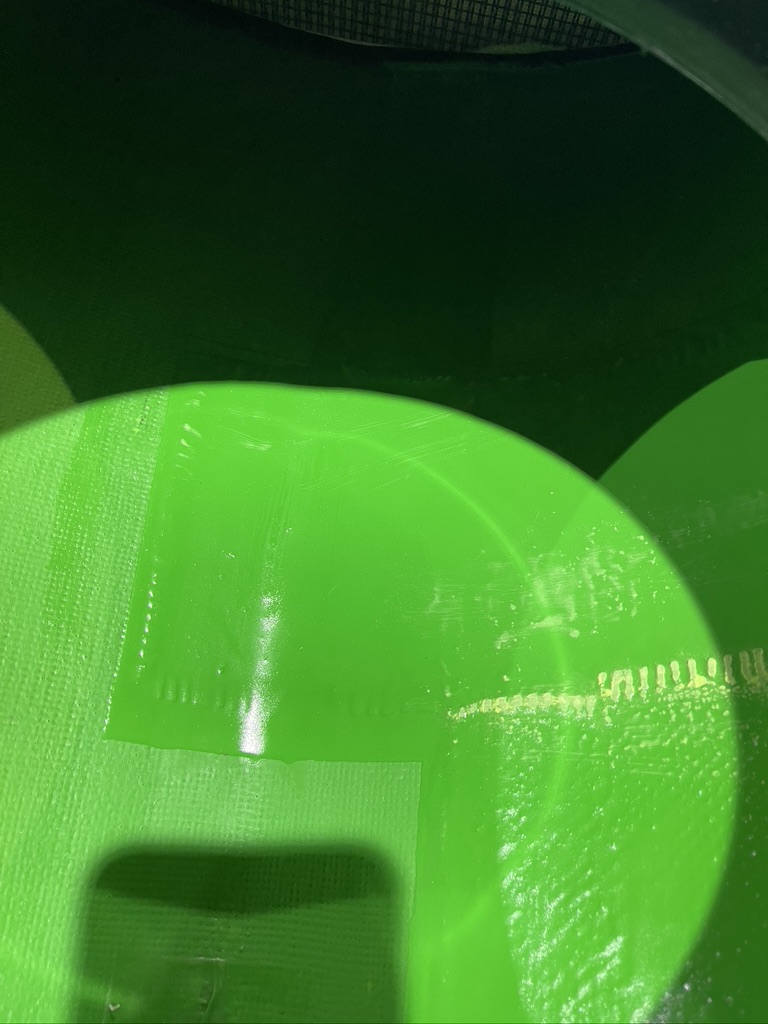
Here I have cut through the crack with a hacksaw blade so that the two sides realigned in the original form, some tape should be added to the inside to keep it that way.
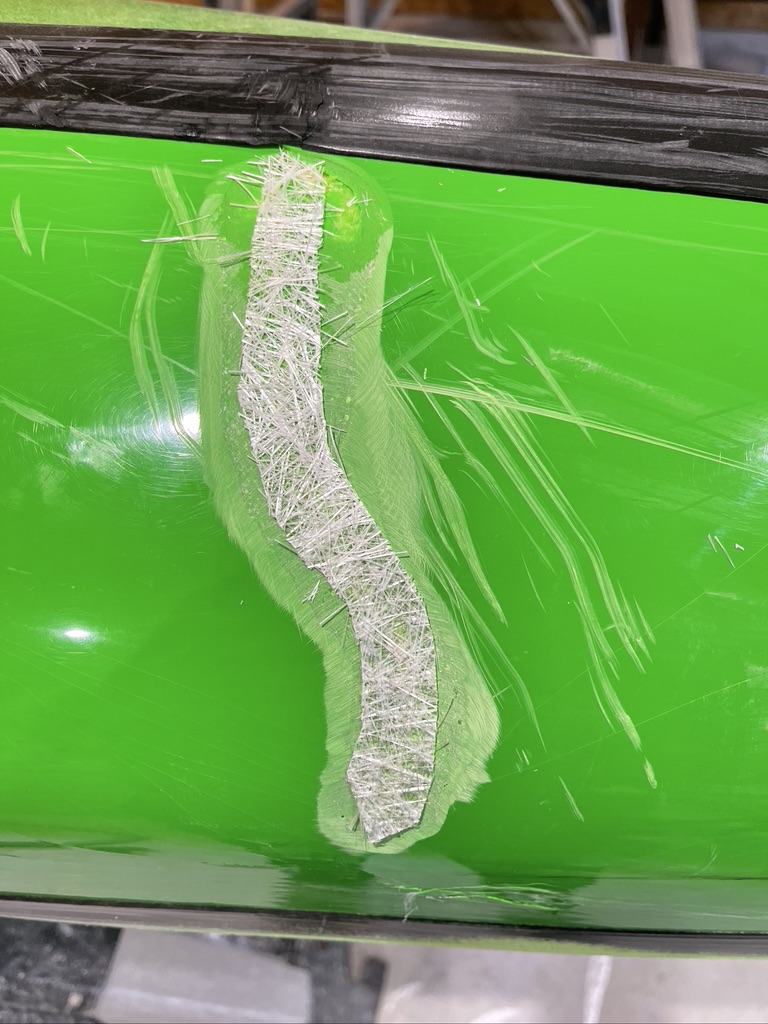
A regular grinding disc and a MASK, and slowly tease away at the material until you see a bit of the diolin cloth beneath.
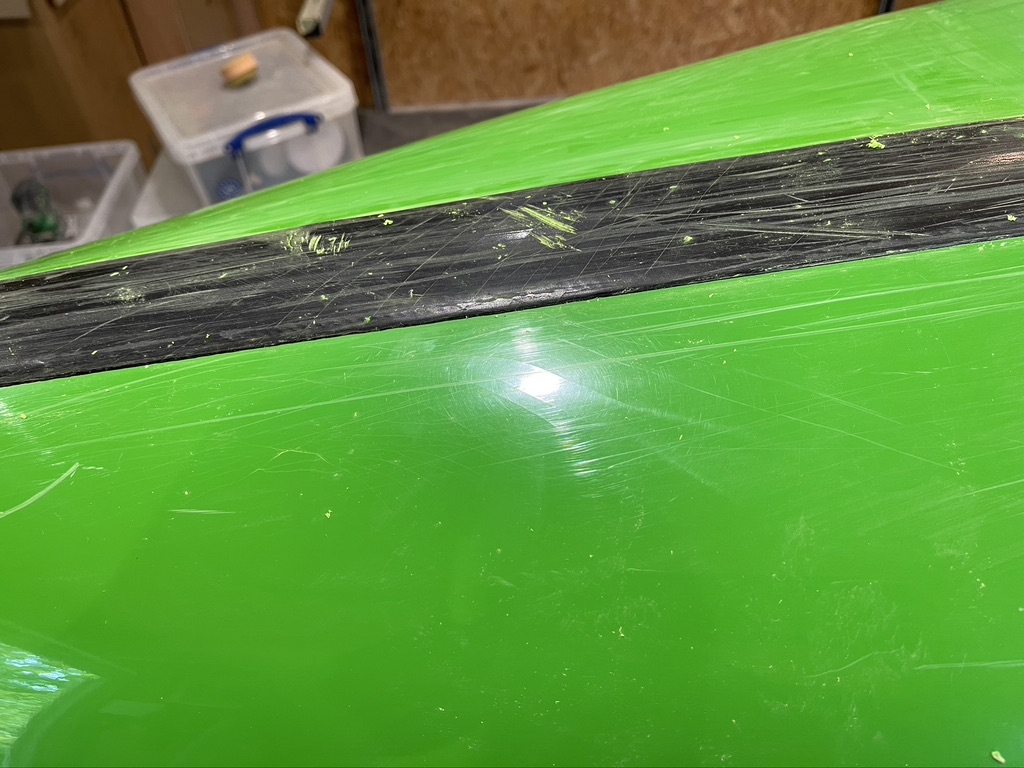
Looks horrendous and trust me it will get a lot worse, here you can see the bottom of the crack but it restarts on the other side of the chine and stops at the mid band.
In the pictures below you can see two shaped layers of chopped strand cloth resined into the shallow created by the grinder.
On the second picture you can see the damage I haven’t even looked at yet and it gets worse!
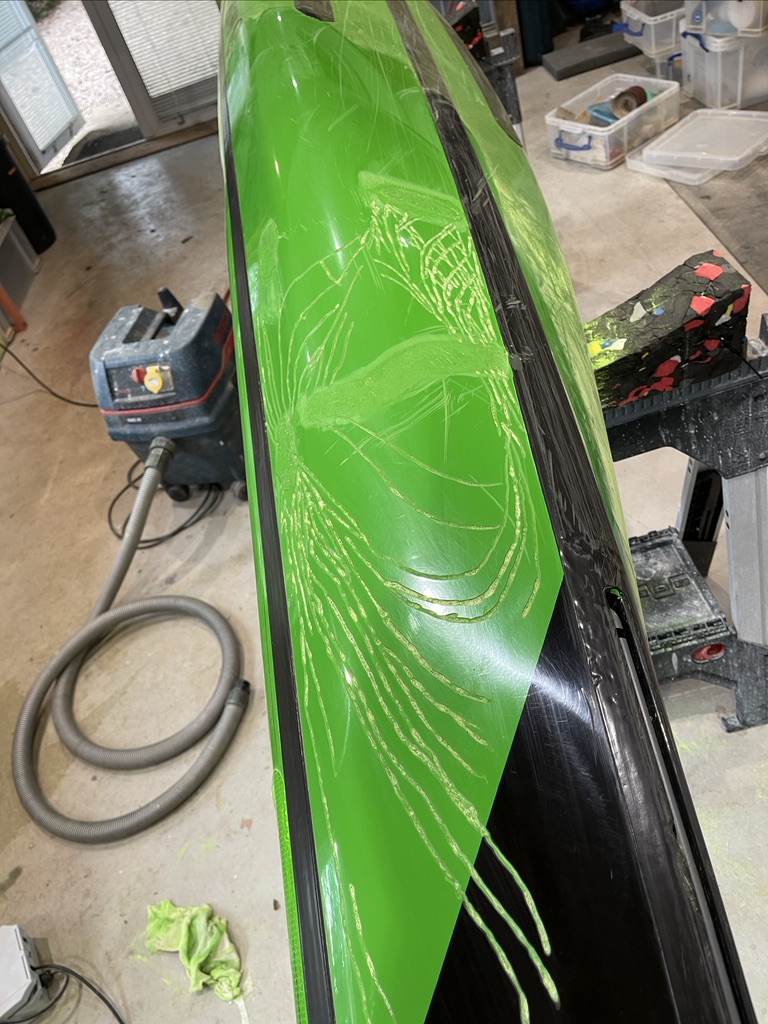
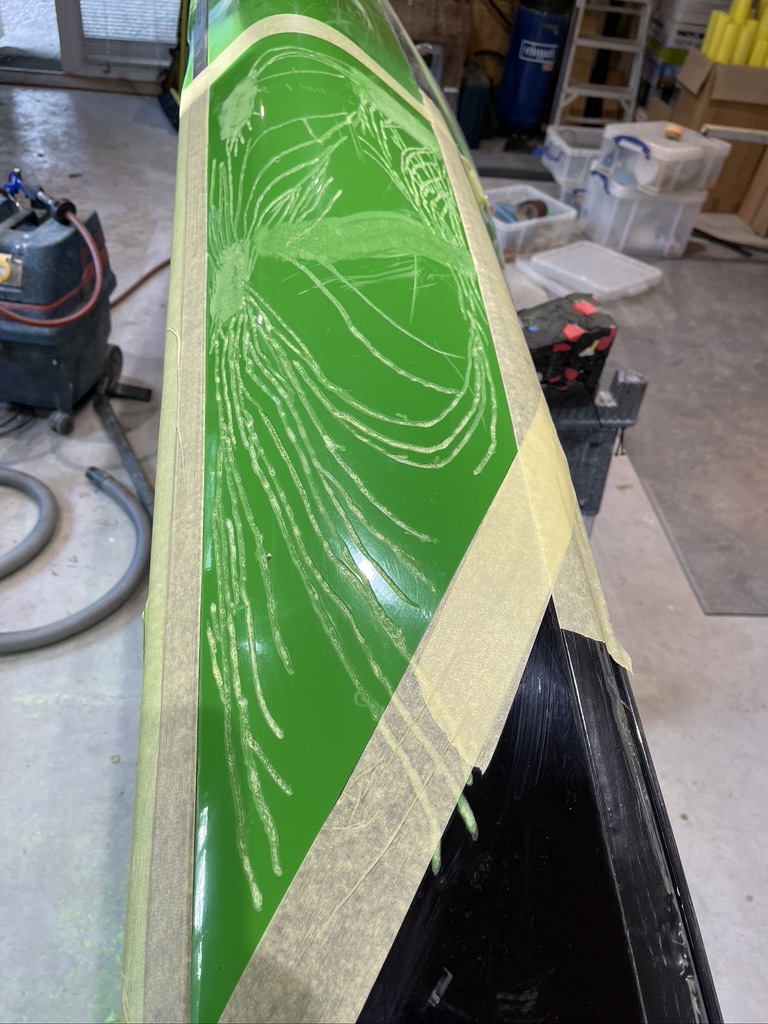
I told you it got worse!
The four areas here have been treated the same with the grinder and double layers of chopped strand matting cut in to fit and marginally below the gelcoat is ideal but the edges can be sanded down if not.
With a small grinding head on a dremel I follow the spider cracks along this is easier than it looks because the more you grind the more cracks you will see. Basically what you see is the area that has been bent in and then popped back out, anything as severe as this will always show only a tiny part of the actual work you will need to do.
Its laborious work and you will need a good mask and a dust extractor (hoover will do) and even then you will feel tight chested in the next morning.
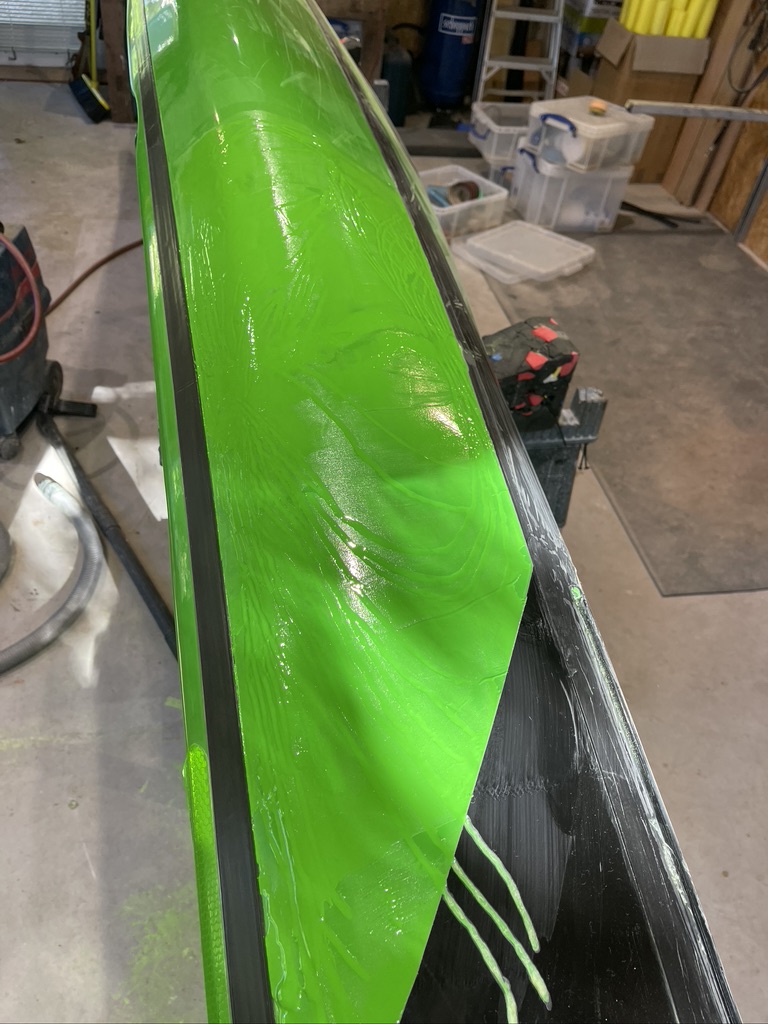
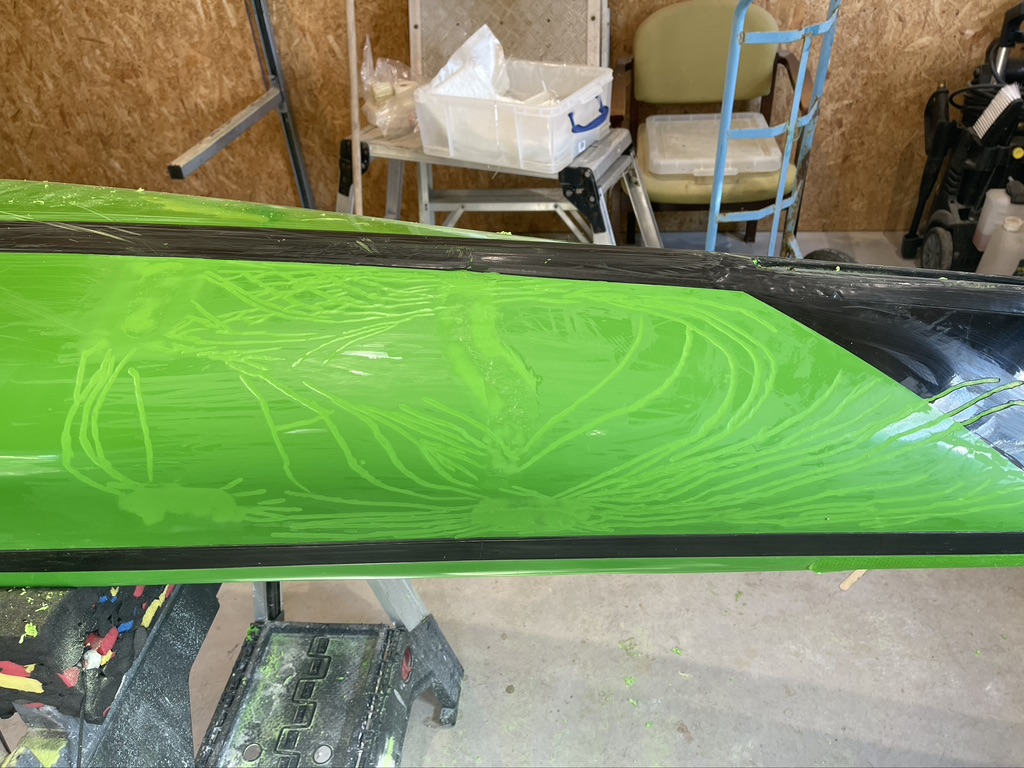
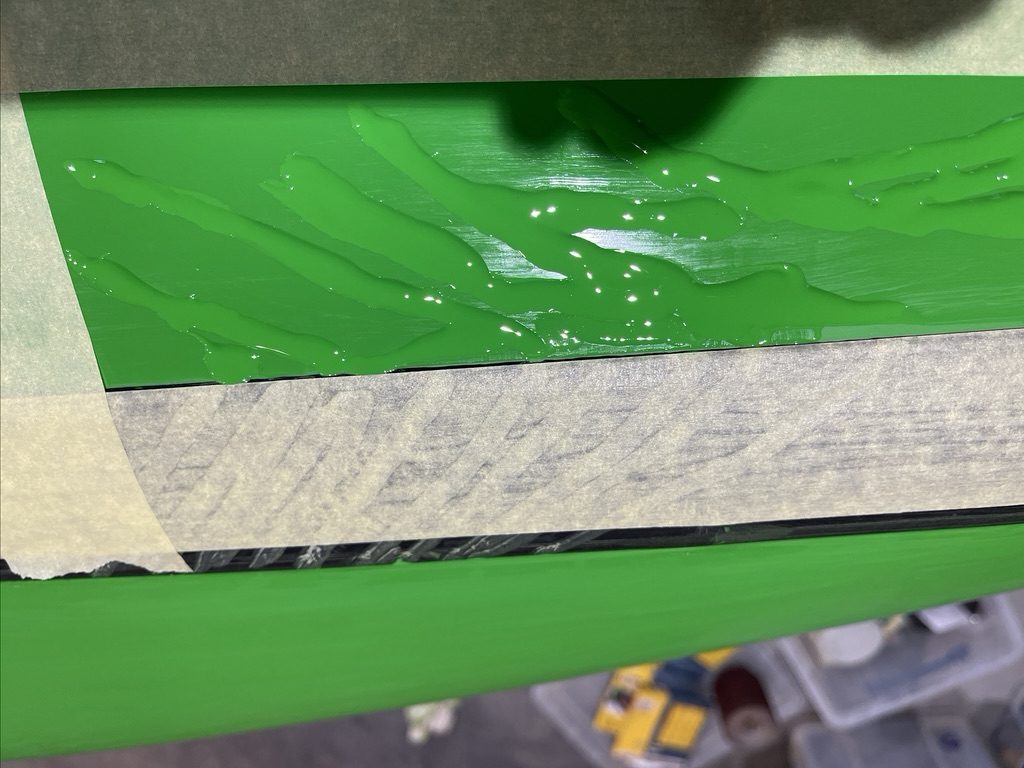
Filling and rubbing down will be your life for the next few days, I personally prefer to use a stanley blade to scape the areas which tends not to damage the original harder set gelcoat. Gelcoat by its very nature shrinks a bit as it cures which will mean you may have to clean down and top up several times.
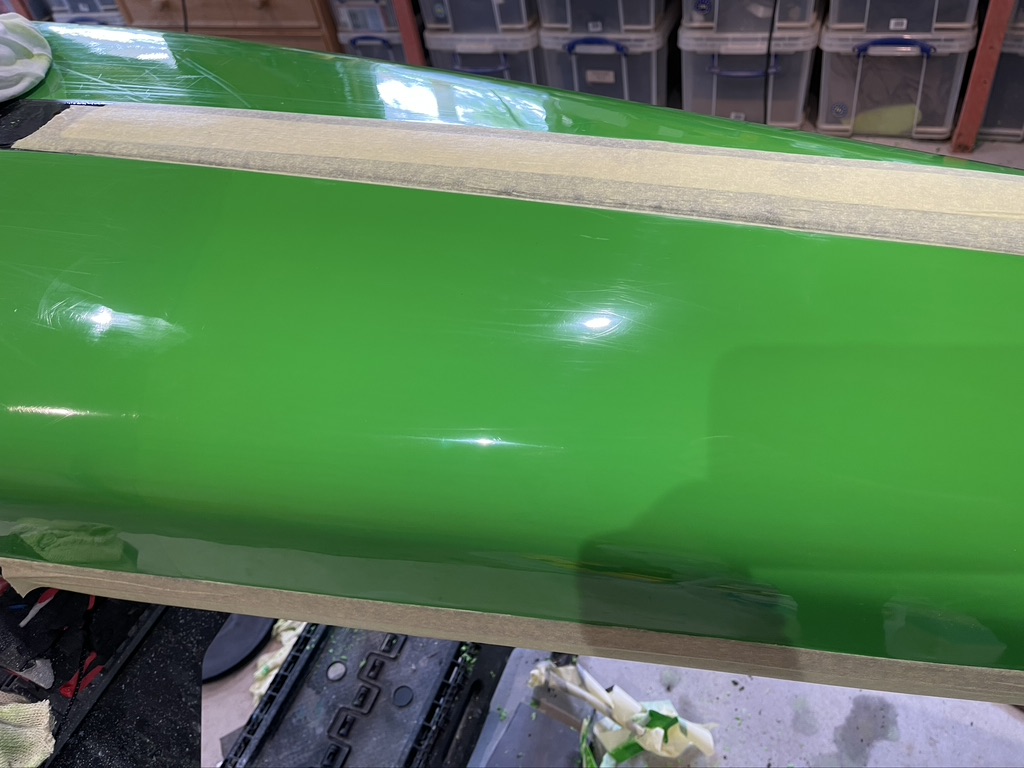
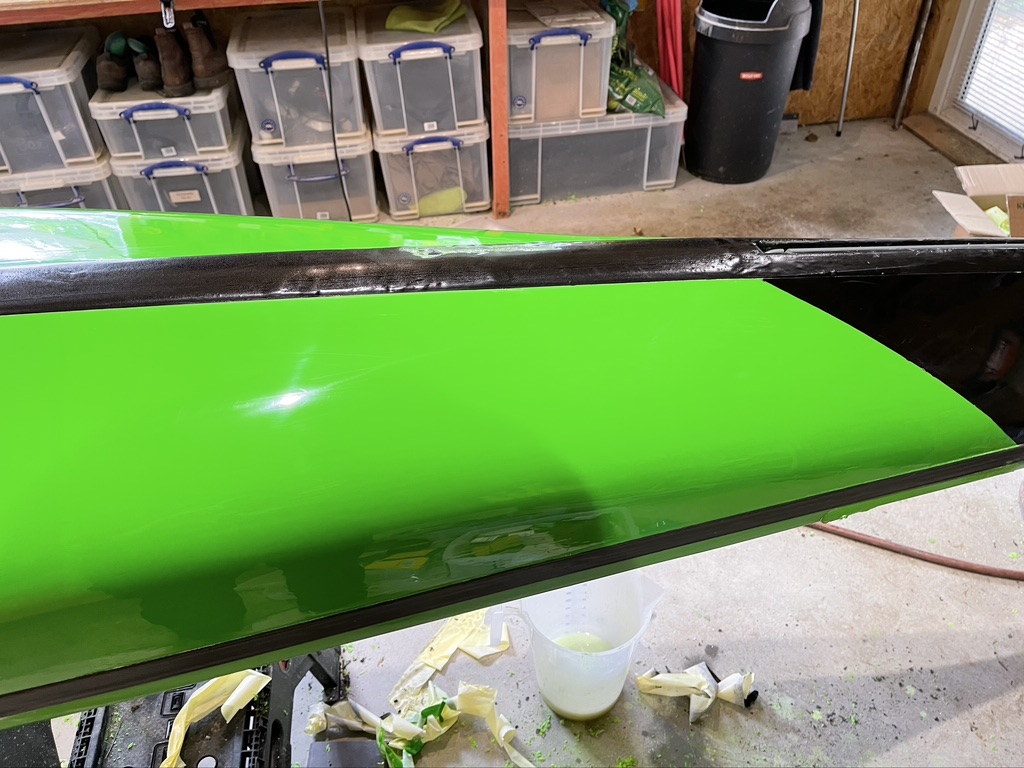
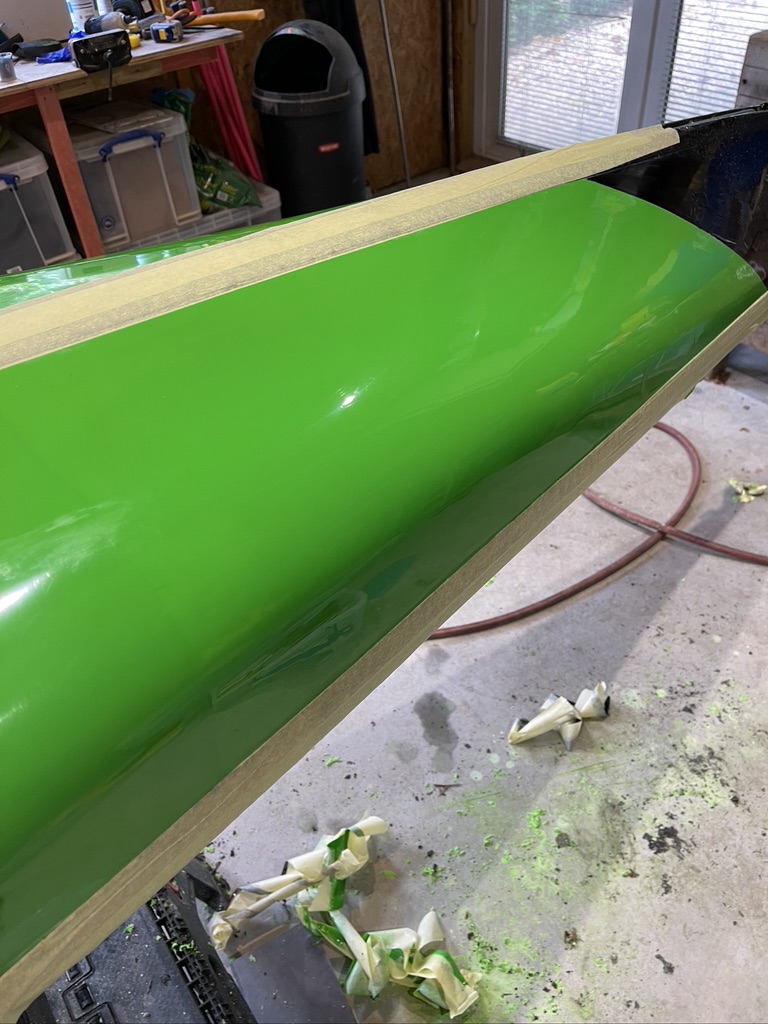
Eventually it should look something like this at which point it needs to be rubbed down cleaned off (acetone) ready for the final coat.
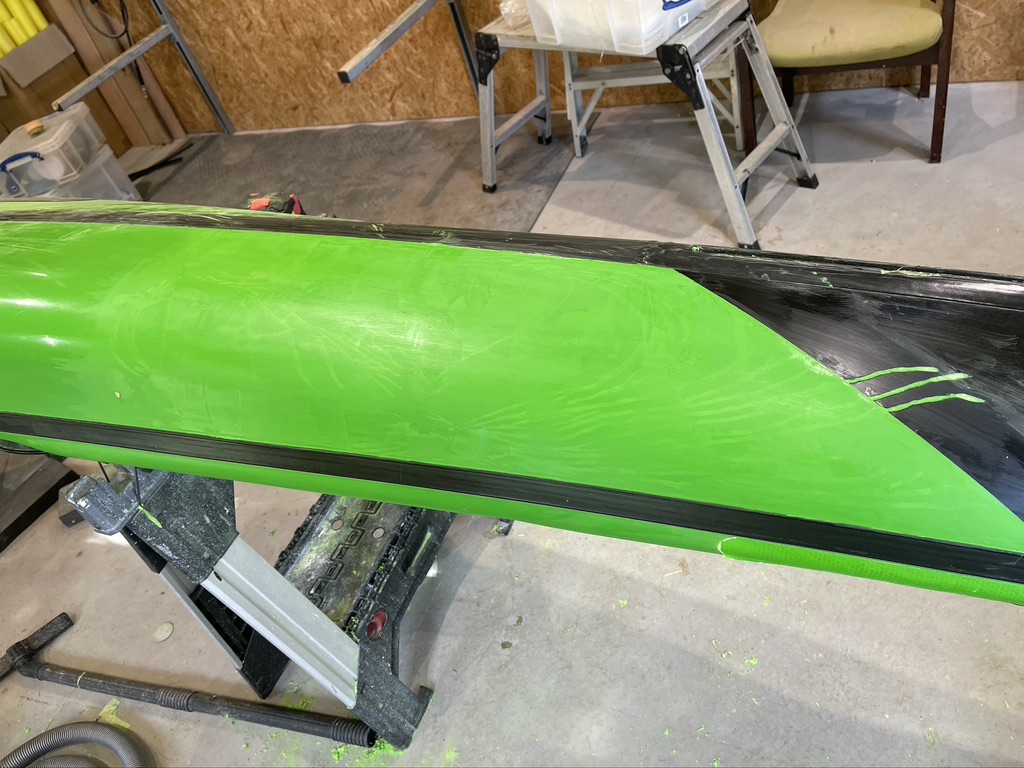
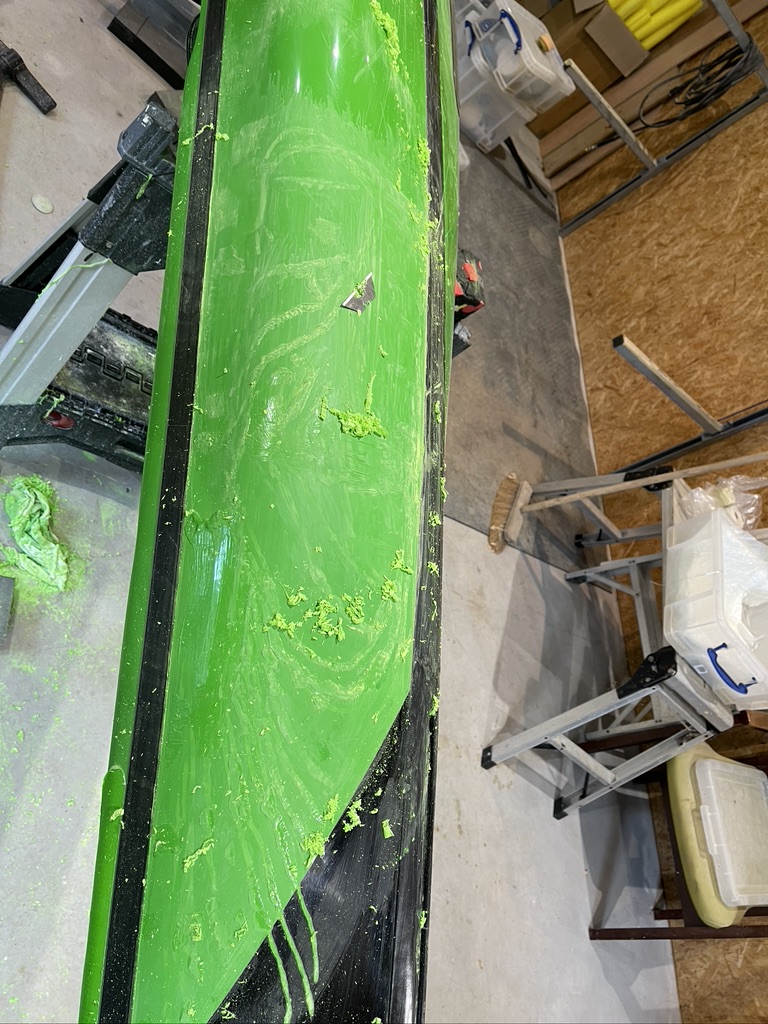
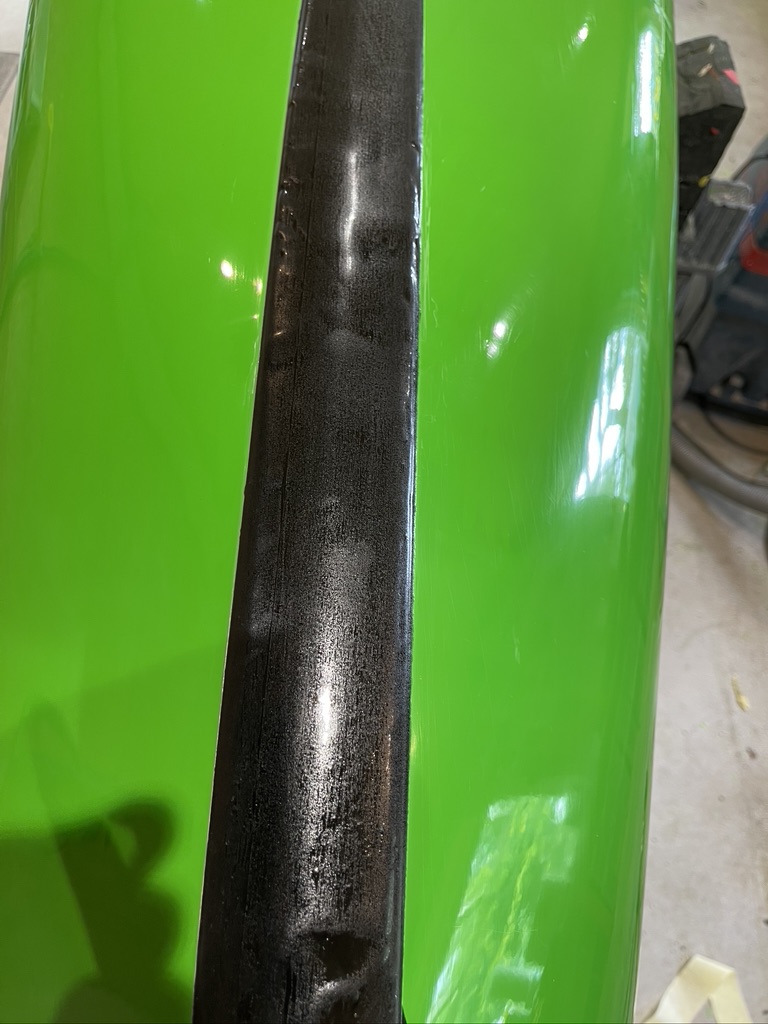
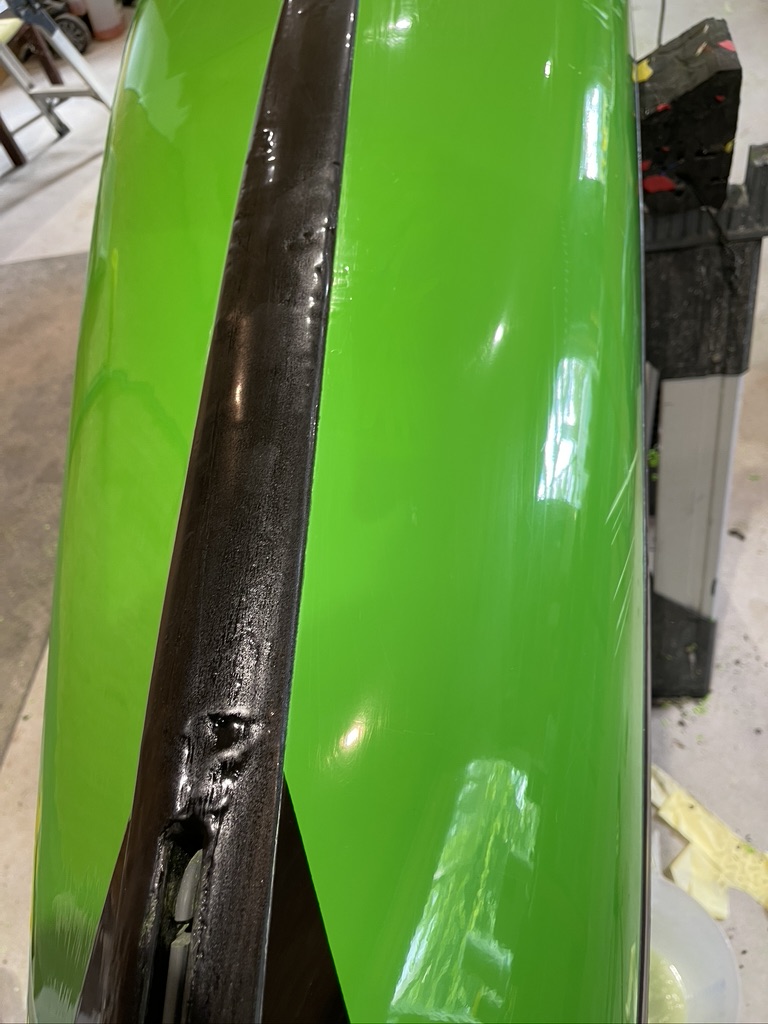
But don’t count your chickens yet, there could be more to do! can you spot the ominous looking cracks in the gelcoat on the other side, also you will easily see the cracks which are going right across my very robust keelstrip?
Frustrating but here we go again, Don’t forget that whilst all this is going on there is plenty of time to be putting the patches on the inside.
When you have everything filled and ready for the final coat, sand down with wet and dry and polish for all your worth.
Regretfully I have way to many requests for repairs so from this year I will only do repairs on customers boats.
I hope that this may give some of you the inspiration to have a go yourselves. Its not that hard and there is a great possibility that you wont make it any worse.
First and Final thank yous to Nigel Dennis and Wayne Jones at the SKUK factory for all the help and advice they have given me over the years.